

I will be discussing my process on how to organize a kitchen pantry today. As a mom of two boys, I mean three boys with the inclusion of their dad. My goal is to encourage them to be self-sufficient. Having an organized kitchen is a good first step. They are able to find food items independently without having to call on me frequently.
Knowing how to organize a kitchen pantry is a cost-effective, efficient and time-saving.
Step 1: Declutter the space
The first step in decluttering or reorganizing any space is to search and remove items that have expired, or that have not been in use for years or months.
Step 2: Update the walls
This would be a good time to paint or in my case add wallpaper to the walls. It is an inexpensive way to add color to the walls.

Step 3: Sort items into categories
- dry goods
- oils
- snacks
- water
- baking goods
- seasonings
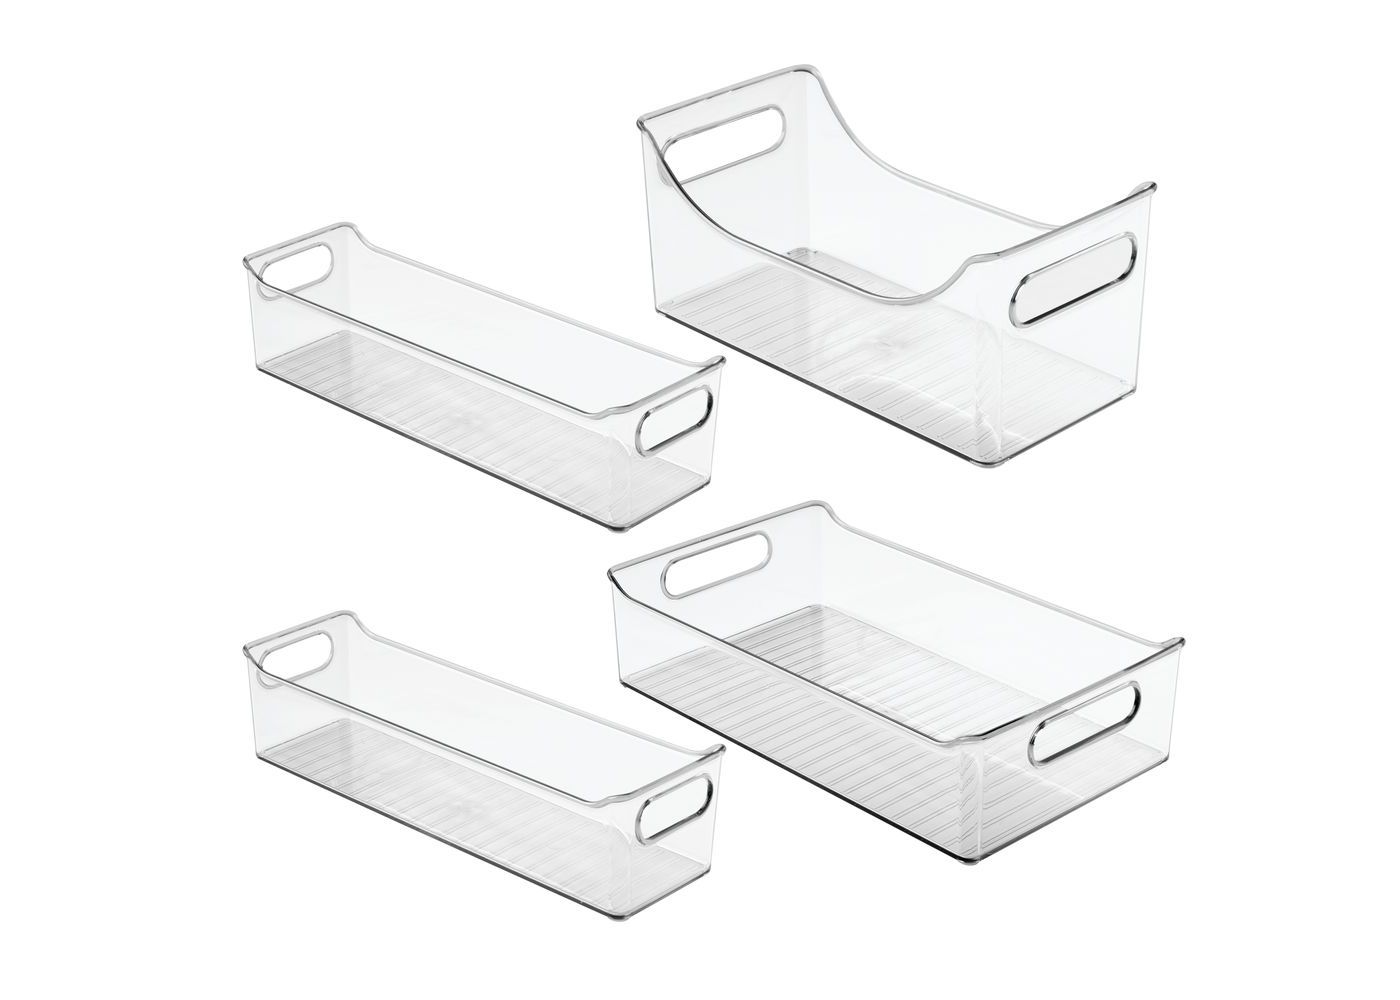
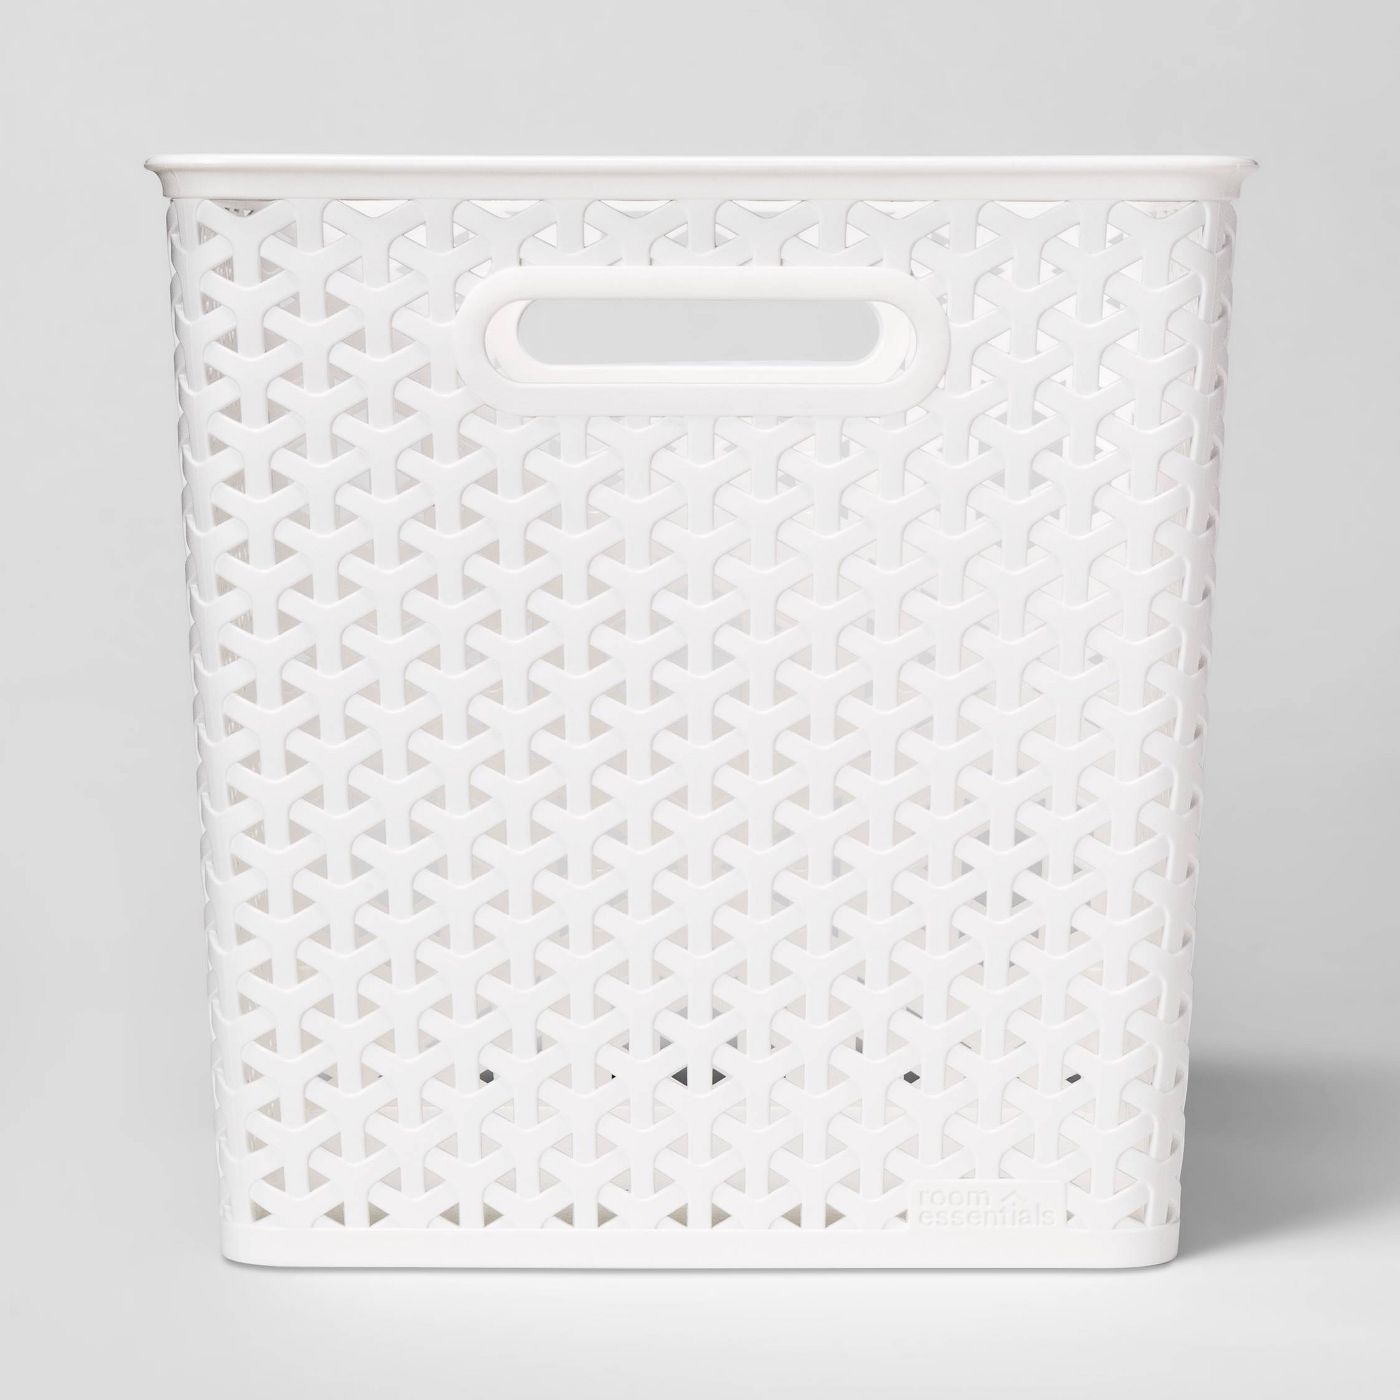
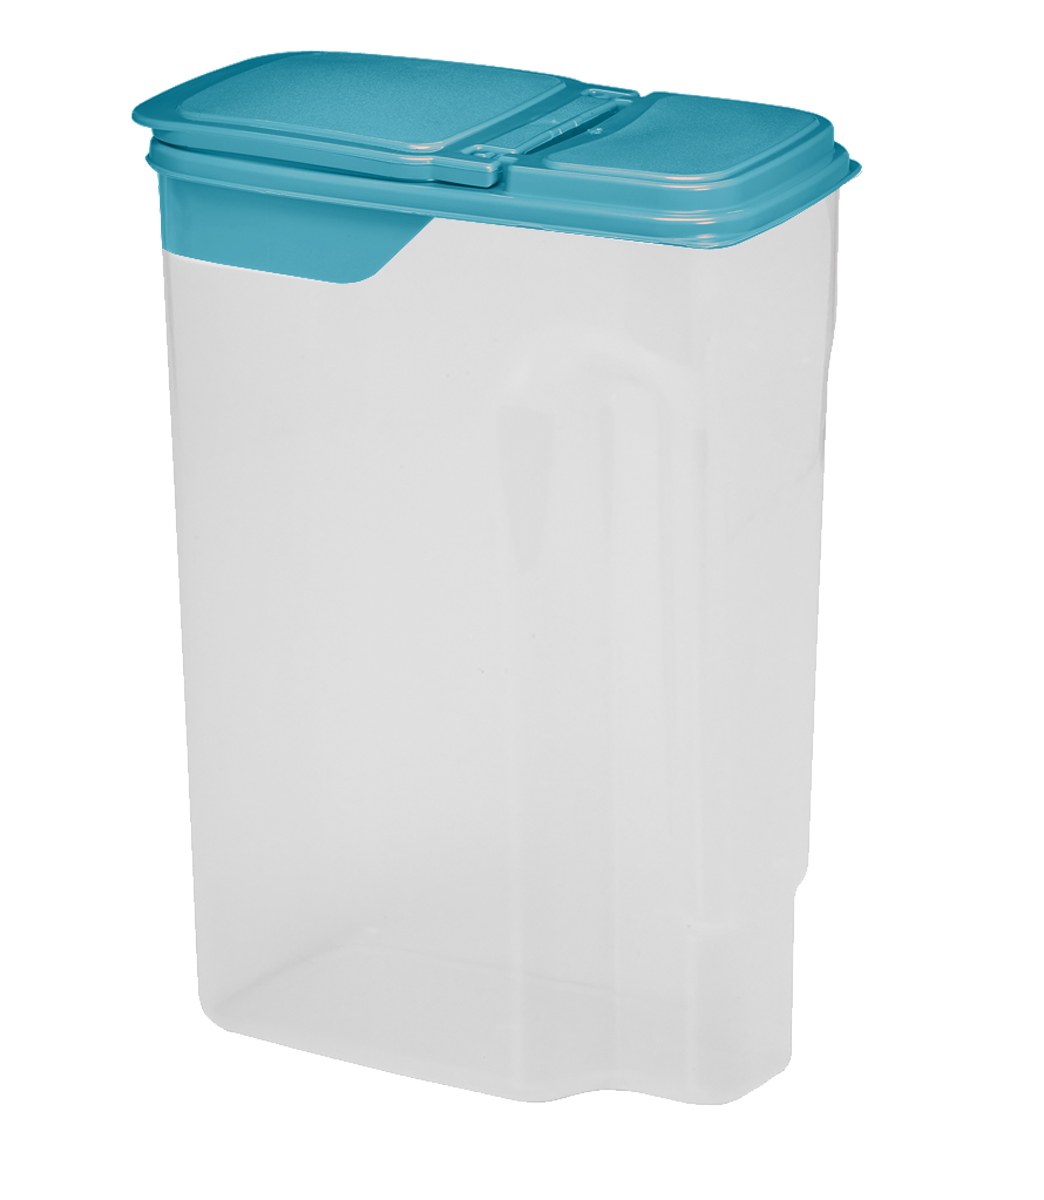
Step 4: Purchase bins and storage containers
For the kitchen pantry, take stock of various food items and create a list. This will help with the following step, shopping!! An itemized list will help to choose the appropriate storage bins, spice racks, cereal containers, etc
My preference for dry goods and frequently used items are clear storage containers. This makes it easy to visualize items that need to be repurchased. The addition of wallpaper is also aesthetically pleasing to the eye.

Step 5: label all items
I use charcoal labels and used a white paint marker pen to label each item. A label maker can be used in the creation of different fonts and colors to label each storage bins.
Miscellaneous
I would recommend the storage of Breakable items, medication, and items not used on a daily basis. On the top shelf.

Great content! Super high-quality! Keep it up! 🙂
Author
Thank you so much. I am glad you enjoyed reading the post.
Author
Thank you for the feedback and your time.